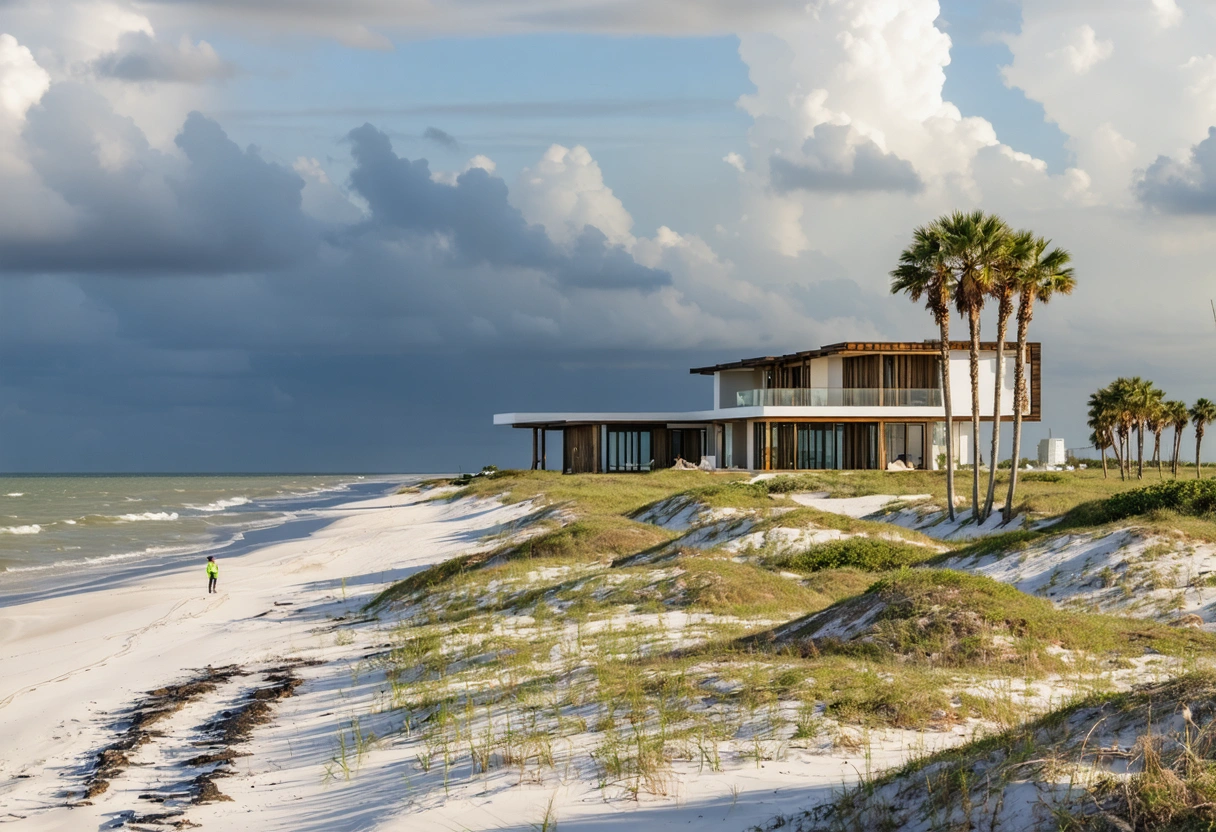
Building a custom home on an island property requires more than adapting a standard residential plan to a waterfront setting. Limited access, coastal weather, sensitive ecosystems, utility constraints, and permitting rules can influence every decision, from where the home sits to how materials reach the site.
A successful project begins with careful investigation and coordinated planning. Addressing island-specific conditions early helps homeowners control costs, reduce delays, and create a durable home suited to its surroundings.
Evaluating the Property Before Design Begins
The first step is assessing the land and its development constraints. The project team may review boundary and topographic surveys, elevation data, drainage, vegetation, shoreline conditions, soil composition, and access. Geotechnical testing is especially important because sand, fill, limestone, clay, and other materials affect foundation design and load capacity.
Studying Flood, Wind, and Coastal Exposure
Island properties often face flooding, storm surge, extreme winds, wind-driven rain, and salt air. The team should confirm the flood zone, required base flood elevation, local freeboard rules, and applicable wind criteria.
Exposure also guides material selection. Corrosion-resistant fasteners, impact-rated openings, durable finishes, correctly detailed flashing, and moisture-conscious wall assemblies should be integrated during design rather than added after construction begins.
Confirming Access and Utility Options
Some properties are reached by bridge or causeway, while others require ferries, barges, or smaller boats. The builder must determine whether concrete trucks, cranes, heavy equipment, and delivery vehicles can reach the site.
Utility availability must also be verified. The property may require a private well, septic system, propane storage, solar power, generator, battery system, or upgraded electrical connection. These needs can affect the site plan, budget, and building layout.
Turning Site Findings Into a Coordinated Plan
The architect, builder, engineers, and consultants use the site findings to develop a coordinated plan. It typically identifies the building footprint, finished floor elevation, access, utility routes, stormwater controls, septic components, outdoor areas, and protected landscape zones.

Early collaboration matters because design choices can create logistical challenges. A long structural span may require difficult-to-transport steel, while oversized windows may need specialized lifting equipment.
Positioning the Home for Views and Resilience
Orientation should balance views, privacy, daylight, prevailing breezes, solar heat gain, and storm exposure. Large windows can frame the water but must account for structural loads, glare, heat, and wind-driven rain.
The plan should preserve natural drainage and limit disturbance. Retaining appropriate vegetation, directing runoff away from foundations, and minimizing shoreline changes can reduce erosion and support environmental compliance.
Developing a Realistic Preliminary Budget
An island construction budget must include transportation, marine delivery, temporary storage, equipment mobilization, worker travel, weather protection, specialized foundations, and utility infrastructure. It should also cover professional fees, surveys, testing, permits, insurance, and an appropriate contingency.
Comparing the budget with the plans at key milestones allows the team to adjust the home’s size, specifications, or construction methods before permit drawings are complete.
Completing Design and Engineering
Once the site plan, budget, and goals are aligned, the team develops floor plans, elevations, structural systems, and material selections. The architect coordinates structural, civil, mechanical, electrical, plumbing, and geotechnical professionals. Coastal engineers, septic designers, landscape architects, environmental consultants, or dock specialists may also participate.
Designing the Structure and Building Envelope
The structural design must create a continuous load path from the roof to the foundation. Framing, walls, floors, connectors, and foundations work together to resist gravity, wind, uplift, and lateral forces.
The building envelope is equally important. Roofing, walls, windows, doors, decks, and flashing must manage water, humidity, air leakage, and salt exposure. Fasteners and connectors require suitable coatings or stainless steel grades, with attention to compatibility between metals.

Coordinating Mechanical and Electrical Systems
Heating, cooling, ventilation, plumbing, and electrical systems should be coordinated before framing. Elevated floors, open ceilings, and large glass areas may restrict routing space.
Condensers, generators, panels, water heaters, pumps, and controls should be placed above required flood elevations and protected from debris, water, and salt spray where practical. They must also remain accessible for service.
Selecting Materials With Lead Times in Mind
Impact-rated windows and doors, specialty roofing, cabinetry, structural connectors, and mechanical equipment can have long manufacturing periods. A procurement schedule should identify approval dates, fabrication periods, delivery windows, and protected storage needs. Product data and samples should be approved before orders are released.
Navigating Permits and Regulatory Reviews
Permitting may involve agencies beyond the local building department. Reviews can address zoning, floodplain compliance, stormwater, septic systems, wells, shoreline work, docks, tree removal, habitat protection, and access.
A complete application may include architectural and engineering drawings, surveys, elevation certificates, energy calculations, product approvals, drainage information, and technical reports. Coordinated documents reduce conflicting approvals and repeated review comments.
Accounting for Environmental Restrictions
Wetlands, dunes, mangroves, native habitat, protected species, and shoreline buffers may limit construction activity. Permits can regulate access routes, staging, lighting, storage, and seasonal work. Erosion controls, turbidity barriers, tree protection, or restoration plans should be included in the schedule and budget.
Resolving Permit Comments
The design team should track every agency comment, assign responsibility, and update all affected documents. Construction should begin only after required permits are issued and their conditions are understood. Approved drawings must remain available at the site.
Preparing Construction Logistics
Preconstruction planning converts drawings into a workable field sequence. The builder confirms subcontractors, labor, temporary utilities, delivery dates, inspections, and weather allowances.
Planning Transportation, Staging, and Storage
Materials may pass through a mainland staging yard before reaching the property. Loads should follow the construction sequence so the site is not crowded with products needed months later.

The builder must confirm weight, height, width, and turning limits along the delivery route. Concrete pumps, excavators, cranes, trusses, glass units, and prefabricated components may require special arrangements. Backup transportation, protected storage, or extra schedule allowance can keep one missed shipment from delaying several trades.
Establishing Temporary Services and Protection
The site may need temporary power, water, sanitation, fencing, lighting, communications, waste containers, and worker parking. Erosion controls should be installed before clearing or excavation, while protected vegetation and construction boundaries should be clearly marked.
Building the Foundation and Structural Shell
Construction generally starts with surveying, clearing, grading, and foundation work. Surveyors establish control points, setbacks, and required elevations. These references must be protected because small positioning errors can create major compliance problems.
Installing an Island-Appropriate Foundation
The foundation follows geotechnical and structural recommendations. Piles may be driven or drilled to suitable bearing material, while other sites use reinforced footings, grade beams, or elevated slabs.
Floodplain rules can restrict how space below an elevated floor is enclosed and used. Flood openings, breakaway walls, and flood-resistant materials may be required.
Framing and Drying In the Home
Framing includes floors, walls, roof systems, and structural connections. Critical dimensions, openings, ceiling heights, and mechanical pathways should be verified before enclosure.
Roofing underlayment, sheathing, weather barriers, flashing, windows, and exterior doors dry in the structure. Because island weather changes quickly, work should be sequenced to limit moisture exposure. Penetrations and flashing require careful inspection, and field testing can reveal leaks before finishes make repairs difficult.
Completing Systems and Interior Work
After the shell is weather protected, crews install plumbing, electrical, heating, cooling, ventilation, fire protection, and low-voltage systems. Trade coordination prevents conflicts and unauthorized alterations to structural framing.

Conducting Rough Inspections
Rough inspections typically cover framing, plumbing, electrical, mechanical systems, and structural connections. Additional reviews may verify insulation, air sealing, fire blocking, flood-resistant construction, or energy compliance.
A documented pre-drywall review is valuable. Photographs of pipes, wiring, blocking, and framing provide a useful record for future repairs and renovations.
Installing Insulation and Interior Finishes
Insulation and air sealing must suit the climate and wall assembly. Gaps around windows, penetrations, attic access points, and mechanical chases can admit humid air into concealed spaces.
Drywall, trim, cabinetry, tile, flooring, paint, countertops, and fixtures then follow in a coordinated sequence. Moisture-sensitive materials should be protected and allowed to acclimate as required.
Finishing the Exterior and Site
Cladding, soffits, railings, decks, stairs, and protective coatings complete the exterior. Fasteners, sealants, and finishes should be compatible with coastal exposure.
Completing Drainage, Utilities, and Landscaping
Final grading must direct water away from the foundation without affecting neighboring or protected areas. Swales, drains, permeable surfaces, retention features, and roof drainage should match approved plans.
Landscaping should use plants suited to salt, wind, soil, and available irrigation. Native or regional species can reduce maintenance and support erosion control.
Preparing for Coastal Weather
Before occupancy, homeowners should learn how to secure shutters, outdoor furnishings, gates, dock equipment, and other exposed features. A storm checklist should cover shutoffs, generator operation, fuel, drainage maintenance, remote monitoring, emergency contacts, and post-storm inspections.

Managing Quality Control and Inspections
Quality control should continue throughout construction. Phase-specific checklists can cover foundations, framing, waterproofing, systems, finishes, and site work. Delivery records, approvals, reports, test results, photographs, warranties, and approved changes should be organized as work progresses.
Testing the Completed Home
Before final inspection, the team should test plumbing fixtures, appliances, electrical devices, lighting controls, air conditioning, ventilation, pumps, generators, alarms, and smart systems. The project may also require air leakage tests, moisture readings, water analysis, septic certification, drainage observation, or window water testing.
Final Walkthrough and Project Handover
During the final walkthrough, the homeowner and builder inspect every room, exterior area, system, and site feature. Incomplete work, damaged finishes, and required adjustments should be documented clearly.
Reviewing Operation and Maintenance
The builder should demonstrate controls, panels, water shutoffs, storm protection, generators, pumps, appliances, and smart features. Homeowners should know how to replace filters, clean drains, test alarms, and prepare exterior components for severe weather.
The handover package may include approved plans, surveys, elevation certificates, inspection records, manuals, finish schedules, warranties, maintenance instructions, and subcontractor contacts. Digital and printed copies should remain accessible after a storm or extended absence.
Completing Final Approvals and Corrections
Occupancy should begin only after final inspections are passed and the required certificate is issued. Conditions involving drainage, landscaping, septic systems, or shoreline protection must also be satisfied.
The builder should complete corrections promptly and explain warranty procedures. With careful coordination from site investigation through handover, an island home can provide lasting comfort while meeting the practical demands of its coastal environment.
Need help with The Custom Home Building Process on an Island Property: From Site Planning to Final Walkthrough?